Discover why your ZZ plant develops black spots on new growth and learn effective diagnosis, treatment, and prevention tips to keep your plant healthy.
Introduction
Noticing black spots on your ZZ plant's new leaves can be quite alarming, especially if you’re eager to see your indoor garden flourish. But don’t worry—this is a common issue faced by many plant enthusiasts, and it’s often manageable with the right knowledge and care. Whether the black spots seem fuzzy, slimy, or just dark patches, understanding their cause is the first step toward helping your plant recover.
In this article, we’ll explore why your ZZ plant might develop black spots on new growth, how to accurately diagnose the problem, and practical solutions to restore its health. With some patience and proper care, your ZZ plant can bounce back beautifully. Let’s dive into understanding and fixing this issue step by step.
Section 1: Understanding the Problem
How Black Spots Appear on ZZ Plant New Growth
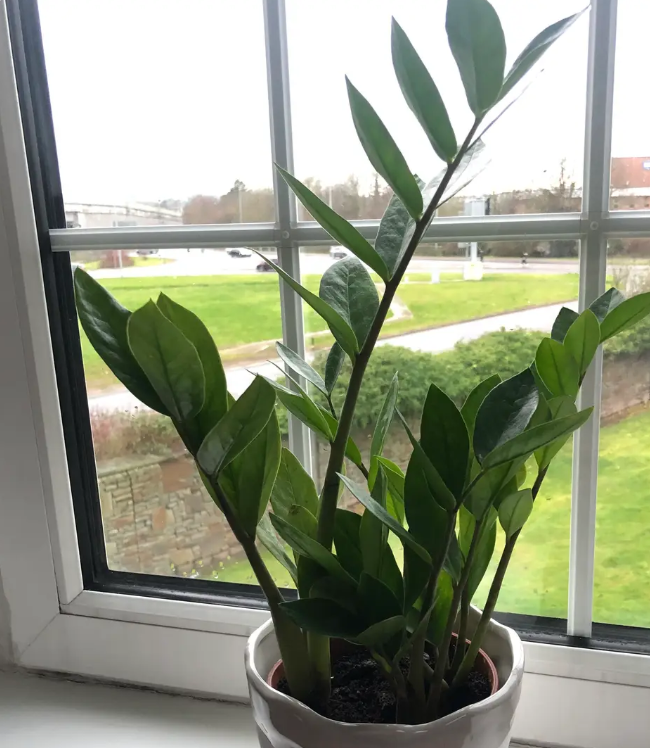
Black spots on ZZ plant leaves can vary in appearance—they might look like tiny dots, larger patches, or even fuzzy black patches. Often, these spots develop on the newest leaves or stems, which can be disheartening because they’re the signs of underlying issues.
Common Causes Overview
There are several common reasons why black spots might appear on your ZZ plant’s new growth:
- Fungal infections: Diseases such as leaf spot caused by fungi are frequent culprits.
- Overwatering: Excess moisture can lead to root rot, which manifests as black spots on the stems or leaves.
- Low light or environmental stress: Insufficient light or sudden temperature changes can weaken the plant, making it susceptible.
- Physical damage: Bumps, knocks, or handling can cause bruising and black spots. Understanding these causes helps you tailor your care routine and address the specific problem effectively.
Section 2: Diagnosing the Exact Cause
Step-by-Step Process to Identify Why Your ZZ Plant Has Black Spots
Accurate diagnosis is key to effective treatment. Observe your plant carefully and consider the following factors:
Cause 1: Fungal Infection (e.g., Leaf Spot Disease)
- Symptoms: Black patches that may be fuzzy, slimy, or have a slightly raised appearance.
- Detection: Look for fuzzy, powdery, or slimy black patches on leaves or stems. These often have irregular edges and may spread over time.
Cause 2: Overwatering Leading to Root Rot and Stem Damage
- Symptoms: Black or mushy stems, soft or rotting roots, and new growth with black spots.
- Detection: Check the soil moisture—if the soil feels consistently wet or soggy, overwatering is likely. Also, gently remove the plant from its pot to inspect roots; black, slimy roots indicate rot.
Cause 3: Environmental Stress (Low Light or Temperature Fluctuations)
- Symptoms: Black spots may appear on new leaves that are pale or underdeveloped, often accompanied by wilting or leaf drop.
- Detection: Assess your plant’s environment. Is it receiving inadequate light? Has there been a sudden change in temperature or drafts?
How to Tell Which Cause Applies to Your Plant
- Fungal infection: Look for fuzzy patches and check humidity levels.
- Overwatering: Examine soil moisture and roots.
- Stress factors: Observe light exposure and recent environmental changes. By matching symptoms with conditions, you can pinpoint the root cause more accurately.
Section 3: Treatment Solutions
Immediate Actions
- Remove affected leaves: Carefully prune blackened or damaged leaves using clean, sharp scissors or pruning shears to prevent spread.
- Improve air circulation: Ensure your plant is in a well-ventilated area to discourage fungal growth.
- Adjust watering habits: Allow the soil to dry out completely between waterings; avoid overwatering.
Long-term Treatment
- Apply fungicide: Use natural options like neem oil or commercial fungicides if a fungal infection is confirmed. Follow product instructions carefully.
- Repot if root rot is suspected: Gently remove the plant from its pot, trim away black or mushy roots, and repot in fresh, well-draining soil.
- Maintain proper care: Ensure your ZZ plant is in bright, indirect light, with consistent watering and good airflow.
Monitoring Recovery
Watch for new, healthy growth and a reduction in black spots. Healthy leaves should become firm, vibrant, and free of blemishes over time.
Section 4: Prevention Tips
Care Routine Adjustments
- Water properly: Water only when the top inch of soil feels dry. Adjust frequency based on season and environment.
- Provide adequate light: ZZ plants thrive in bright, indirect sunlight. If natural light is limited, consider supplemental grow lights.
- Ensure good airflow: Avoid stagnant air around your plant to prevent fungal issues.
Environmental Factors
- Control humidity: Keep humidity levels moderate; excessive moisture promotes fungal growth.
- Avoid drafts and extreme temperatures: Keep your plant away from cold drafts or direct heat sources. Maintain a stable environment.
Regular Inspection and Early Intervention
- Check your ZZ plant weekly for signs of trouble.
- Remove any yellowing or damaged leaves promptly.
- Address issues early before they spread or worsen.
Conclusion
Black spots on ZZ plant new growth are often a sign of underlying issues like fungal infections, overwatering, or environmental stress. The good news is that with prompt diagnosis and appropriate care, most problems are reversible. Acting quickly by removing affected parts, adjusting watering habits, and improving environmental conditions can help your plant recover and thrive again. Remember, patience and attentive care are your best tools in nurturing a healthy, beautiful ZZ plant. Keep monitoring your plant regularly, and don’t hesitate to seek professional advice if issues persist. Your indoor garden will thank you!
Q: How long until I see improvement after treatment?
A: Typically, you can expect to see signs of recovery within a few weeks—new growth should be healthy and free of black spots. Consistency in care and monitoring are key.
Q: Can my ZZ plant fully recover from black spots?
A: Yes, most ZZ plants can fully recover if the underlying cause is addressed promptly. Early intervention is crucial for complete healing.
Q: Should I prune all affected leaves or only the heavily damaged parts?
A: Prune only the visibly affected leaves and stems, making clean cuts. Removing severely damaged parts encourages healthy new growth and prevents disease spread.
By following these guidelines, you’ll be well on your way to maintaining a healthy, vibrant ZZ plant free from black spots. Happy planting!