Struggling with yellow leaves on your Rubber Plant? Discover practical diagnostic steps and simple fixes to restore your plant’s health quickly.
Introduction
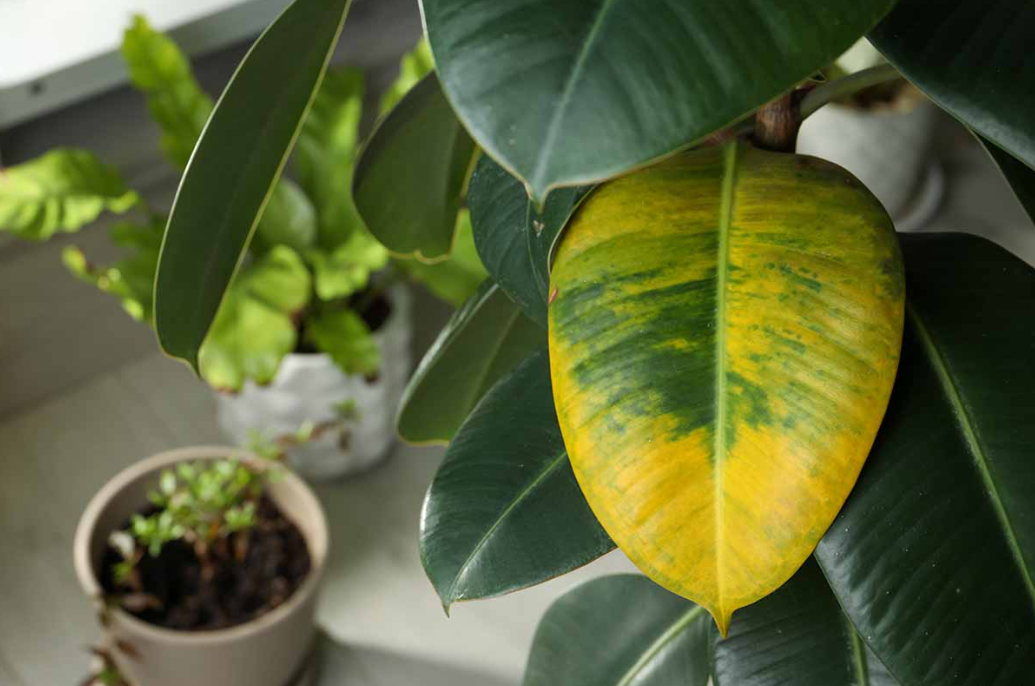
Noticing yellow leaves on your Rubber Plant can be worrying, especially when you're eager to see your indoor garden thrive. Yellowing foliage is a common issue among plant enthusiasts, but it’s often a sign that something needs adjustment rather than an indication of irreversible damage. The good news is that with some careful diagnosis and simple care tweaks, you can help your Rubber Plant bounce back to its vibrant, healthy green.
This guide will help you understand why your Rubber Plant's leaves are turning yellow, how to identify the root cause, and most importantly, what easy solutions you can apply to bring your plant back to life. Remember, patience and proper care are key—your Rubber Plant can recover and flourish once the issue is addressed.
Section 1: Understanding the Problem
Yellow leaves are one of the most common concerns for Rubber Plant owners. Recognizing the signs and understanding the basic causes lays a solid foundation for effective troubleshooting.
Visual Identification: Are the Leaves Uniformly Yellow or Mottled?
- Uniform yellow leaves: Usually indicate issues like overwatering or light deficiencies.
- Mottled or spotty yellowing: Might suggest pests or nutrient deficiencies.
- Brown tips combined with yellowing: Often point to watering problems or low humidity. Careful observation of leaf appearance provides clues about the underlying problem.
Common Causes Overview
- Watering issues: Both overwatering and underwatering can cause yellow leaves.
- Light deficiencies: Insufficient bright, indirect light can weaken the plant.
- Nutrient imbalance: Lack of essential nutrients, especially nitrogen, affects leaf color.
- Pests and drafts: Pests like spider mites or exposure to cold drafts can stress the plant.
- Environmental stress: Sudden temperature changes or low humidity may lead to leaf yellowing. Understanding these causes helps you focus your efforts effectively.
Section 2: Diagnosing the Exact Cause
Getting to the root of the problem involves a step-by-step diagnostic process.
Cause 1: Overwatering Leading to Root Rot
- Symptoms: Leaves turn yellow, soft, and sometimes drop prematurely.
- What to check: Gently remove the plant from its pot to inspect roots.
- Indicators: Roots are mushy, brown, or black and smell foul.
Cause 2: Insufficient Light
- Symptoms: Pale leaves, stretched stems (etiolation), growth slowdown.
- What to check: Assess the plant’s placement in relation to natural light sources.
- Indicators: The plant is far from windows or in a dim corner.
Cause 3: Nutrient Deficiency
- Symptoms: Uniform yellowing despite proper watering, weak or slowed growth.
- What to check: Soil nutrient content and fertilization schedule.
- Indicators: The plant lacked fertilization or has been in the same soil for a long time.
How to tell which cause it is:
- Soil Moisture Check: Use your finger or a moisture meter.
- Light Exposure Check: Observe window placement; ensure adequate indirect bright light.
- Root Inspection: Gently unpot the plant if roots appear brown and mushy, overwatering is likely. Using these diagnostics allows you to identify whether your Rubber Plant’s yellow leaves are caused by watering mishaps, lighting issues, or nutrient problems.
Section 3: Treatment Solutions
Once you've pinpointed the cause, applying the right fix will help your Rubber Plant recover swiftly.
Immediate Actions
- Overwatering:
- Remove excess water from the saucer.
- Let the top inch of soil dry out before watering again.
- Ensure the pot has drainage holes and that they are not blocked.
- Poor light:
- Move your plant to a brighter location with indirect sunlight.
- Avoid direct midday sun to prevent leaf scorch.
- Nutrient deficiency:
- Fertilize with a balanced, water-soluble fertilizer every 4-6 weeks during the growing season.
Long-term Treatment Plan
- Pruning:
- Remove yellowed or damaged leaves with clean scissors to encourage healthy new growth.
- Repotting:
- If root rot is detected, gently trim affected roots and repot in fresh, well-draining soil.
- Consistent fertilization:
- Use a balanced fertilizer suitable for indoor plants, such as a 10-10-10 NPK formula.
What to Expect During Recovery
- New healthy leaves should emerge gradually.
- Old yellow leaves may not turn green but removing them prevents disease spread.
- Overall growth will improve with better environmental conditions.
Section 4: Prevention Tips
Preventing future yellow leaves is easier than fixing recurring problems. Incorporate these simple care routines into your plant maintenance.
Adjust Watering Schedule
- Let the soil dry slightly between waterings—stick to a watering routine based on your home environment.
- Use your finger or a moisture meter to gauge soil dampness before watering.
Optimize Environmental Conditions
- Provide bright, indirect sunlight for at least 4-6 hours daily.
- Keep your Rubber Plant away from cold drafts, air conditioners, or heating vents.
- Maintain humidity levels around 40-60%; mist the leaves or use a humidifier if air is dry.
Regular Monitoring
- Check soil moisture weekly.
- Look for signs of pests or stress.
- Rotate your plant periodically for even light exposure. Implementing these tips will significantly reduce the chances of yellow leaves reappearing and promote a healthier, more resilient Rubber Plant.
Conclusion
Yellow leaves on your Rubber Plant are often fixable through a combination of proper diagnosis and care adjustments. By understanding the visual cues and root causes—whether overwatering, insufficient light, or nutrient deficiencies—you can take targeted actions to restore your plant’s health. Stay patient and consistent—your efforts will pay off. Remember, plants are resilient, and with attentive care, your Rubber Plant can regain its lush, vibrant green and continue to brighten your indoor space.
Next Steps:
- Implement the recommended care changes.
- Monitor your plant’s response over the coming weeks.
- Celebrate the small victories of new, healthy leaf growth! Your green thumb is capable of rescuing your Rubber Plant—happy gardening!
FAQ
Q: How long until I see improvement after fixing watering issues?
A: Typically, you can expect to see signs of recovery within 2 to 4 weeks. New healthy leaves will start emerging as the plant adjusts to improved watering practices. Consistency is key—avoid overwatering or underwatering during this transition.
Q: Can my Rubber Plant fully recover from yellow leaves?
A: Yes, most Rubber Plants can fully recover if the underlying cause is addressed promptly. Often, yellow leaves will not turn green again but can be removed to encourage new, healthy growth. The plant's overall vitality can be restored with proper care.
Q: When should I prune or remove yellowed leaves?
A: Prune yellow or damaged leaves as soon as they appear using clean, sharp scissors. Removing these leaves helps prevent diseases and pests, and redirects the plant’s energy to healthy growth. If the yellowing is widespread, consider pruning back some stems to invigorate the plant.
By following these tips, your Rubber Plant can regain its lush, vibrant appearance and continue to be a beautiful centerpiece in your home. Keep caring, stay observant, and enjoy your gardening journey!