Struggling with curling Aloe Vera leaves? Discover causes, diagnostic steps, effective treatments, and prevention tips to restore your plant's health.
Introduction
Noticing your Aloe Vera's leaves curling can be unsettling, especially if you've invested time and care into nurturing your plant. However, don't panic—curling leaves are a common issue and often signal underlying problems that can be corrected with proper attention. Understanding why this happens is the first step toward revitalizing your Aloe Vera and ensuring it thrives.
In this article, we'll explore the main reasons behind curling leaves, how to diagnose the exact cause, and practical solutions to restore your Aloe Vera's health. With a friendly and reassuring tone, we'll guide you through easy-to-follow steps to bring your plant back to its lush, vibrant state.
Section 1: Understanding the Problem
Visual Identification of Curling Leaves
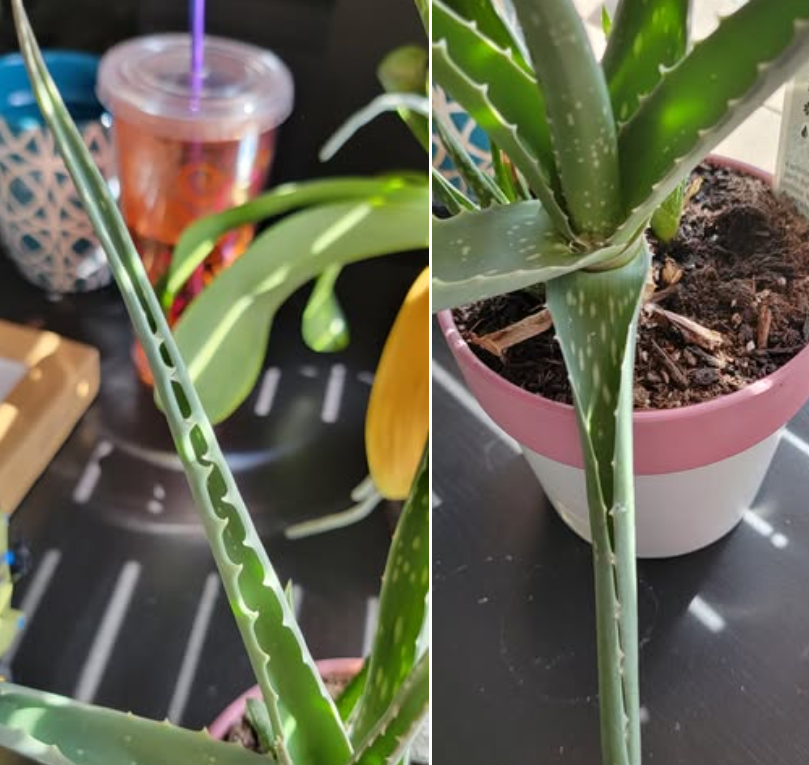
First, let's identify what curling leaves look like. Typically, Aloe Vera leaves may curl inward at the edges, bend downward, or appear shriveled and dry. Sometimes, the curling is accompanied by discoloration, spots, or soft, mushy areas. Recognizing these signs early helps you act quickly.
Common Causes Behind Curling Aloe Vera Leaves
Several factors can lead to leaf curling, often related to environmental stress, watering habits, pests, or diseases:
- Watering issues: Both overwatering and underwatering can cause leaves to curl as the plant struggles to maintain balance.
- Environmental stress: Low humidity, excessive heat, or direct strong sunlight may stress your Aloe Vera, resulting in curling.
- Pest infestation: Tiny pests like mites or mealybugs feed on plant tissues, often causing leaves to deform.
- Diseases: Fungal or bacterial infections can weaken leaf structure, leading to curling and other abnormalities. Understanding these causes helps tailor the appropriate care to address the specific issue.
Section 2: Diagnosing the Exact Cause
Identifying why your Aloe Vera's leaves are curling involves a step-by-step diagnostic process.
Cause 1: Underwatering or Overwatering
- Underwatering: Dry, crispy leaves that curl inward or downward suggest the plant isn't getting enough moisture.
- Overwatering: Soft, mushy leaves with a tendency to curl may indicate excess water, leading to root rot.
Cause 2: Low Humidity or Environmental Stress
Aloe Vera prefers bright but indirect sunlight. Too much direct sun or placing the plant in a dry, heated room can stress it, causing leaves to curl as a protective response.
Cause 3: Pest Infestation (e.g., Mites, Mealybugs)
Examine the leaves closely for tiny pests or webbing. Pests can extract moisture or nutrients, leading to deformities.
How to Tell Which Cause Applies to Your Aloe Vera
- Check the soil moisture level with your finger or a moisture meter.
- Observe the environment: Is it overly dry or too hot?
- Inspect the leaves and stems for pests or discoloration.
- Note watering habits: Have you recently changed your schedule? Answering these questions will help pinpoint the root cause of leaf curling.
Section 3: Treatment Solutions
Once you've diagnosed the cause, you can implement targeted remedies.
Immediate Actions
- Adjust watering schedule: Let the soil dry out completely between waterings for underwatered plants. Reduce watering if overwatering is suspected.
- Increase humidity: Mist the plant lightly, place a humidifier nearby, or set the pot on a humidity tray.
- Pest control: Gently remove pests with a soft brush, wash with water, or apply natural remedies like neem oil or insecticidal soap.
Long-term Care
- Proper watering practices: Water thoroughly but infrequently, ensuring excess water drains away completely.
- Optimize environment: Keep your Aloe Vera in bright, indirect sunlight and a stable temperature zone (between 55°F and 80°F).
- Prevent pests: Regularly inspect your plant and maintain cleanliness.
Monitoring and Recovery Timeline
With consistent care, you can expect to see improvement within a few weeks. Leaves will gradually regain firmness, and curling will diminish as the plant recovers.
Section 4: Prevention Tips
Prevention is key to keeping your Aloe Vera healthy and avoiding future curling issues.
Cultivate Proper Growing Conditions
- Use well-draining soil specifically designed for succulents.
- Water only when the top inch of soil feels dry.
- Place your Aloe Vera in bright, filtered sunlight.
Regular Inspection and Maintenance
- Check leaves periodically for early signs of pests or stress.
- Remove any damaged or curling leaves promptly to prevent spread.
Natural Pest Prevention
- Apply neem oil or insecticidal soap monthly, especially during pest-prone seasons.
- Isolate new plants before introducing them into your collection.
Conclusion
Understanding the causes of curling leaves in your Aloe Vera and applying targeted solutions can dramatically improve its health and appearance. Whether it's adjusting watering habits, improving environmental conditions, or managing pests, attentive care makes all the difference. With patience and consistent effort, your Aloe Vera will bounce back stronger and more vibrant. Take a moment to review your plant's environment, implement the suggested remedies, and enjoy the process of nurturing a thriving indoor oasis.
FAQ
Q: How long until I see improvement after treatment?
A: Typically, you should notice the first signs of recovery within 2–3 weeks. Leaves may remain slightly curled initially but should gradually straighten and regain firmness as the plant heals.
Q: Can my Aloe Vera fully recover from curling leaves?
A: Yes, with proper care and addressing the underlying cause, Aloe Vera plants can fully recover from leaf curling. The key is early diagnosis and consistent maintenance.
Q: Should I prune damaged or curled leaves?
A: It's advisable to prune severely damaged leaves to redirect the plant’s energy toward healthy growth. Use clean, sharp scissors and cut at the base of the leaf without damaging surrounding tissues.
Remember: Every Aloe Vera is unique; paying close attention to your plant's specific needs will ensure a healthy, happy indoor plant for years to come. Happy gardening!